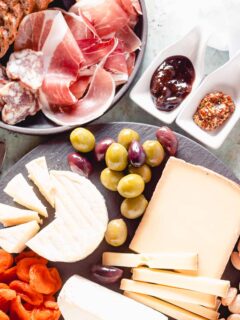
So you want to put together a cheese board? Great! It’s the kind of cooking that’s really more about shopping than anything else, which means that you don’t need to have particular skill in the kitchen to serve at your next gathering. But shopping for cheese can be intimidating. Especially if you, like most people, …
Recipe
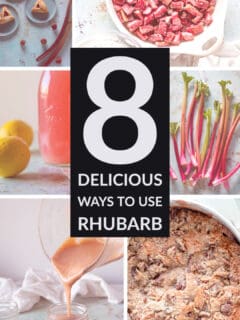
Rhubarb is remarkably versatile. We tend to treat it like a fruit, but botanically, it’s a vegetable. The leaves have a reputation for being toxic because of their oxalic acid, which can interfere with the essential minerals like iron, magnesium, and calcium. But spinach has more oxalic acid than rhubarb leaves do, and it’s still …
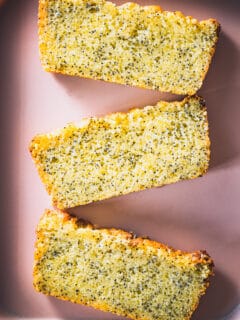
There’s a special place in my heart for loaf cakes. They’re unfussy and unassuming. They don’t demand layers and decoration and all of the foofaraw that can go along with a serious baking project. They don’t demand a special occasion. They’re suitable for dessert, portable for picnics, and a great excuse for sweet snacking. If …
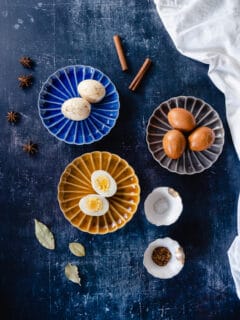
These marbled Chinese tea eggs are lovely to look at and delicious to eat. In China, these tea eggs are typically sold by street vendors and are a popular snack. But regardless of where you live, if you have access to a few spices and soy sauce and tea, they’re incredibly easy to make. The …
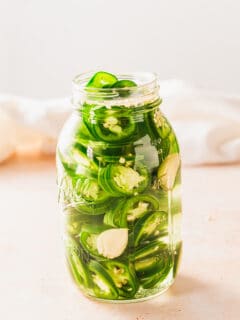
These pickled jalapeños are the burst of acidity and heat that fans of heat love on just about anything. The prefab kind that you find at the supermarket are fine and more or less get the job done, but they have a tendency to be a little mushy. Which is why it’s worth it to …
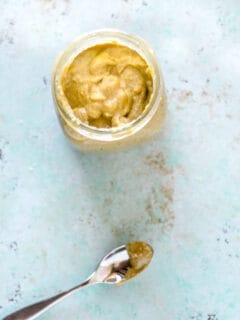
This garlicky cashew sauce is a winner. It only takes a few minutes to make and it’s so freakin’ delicious. I first encountered it with this chicken, but the sauce is good enough to merit its own post. It might help to think of it like peanut sauce. And I love peanut sauce (especially this …