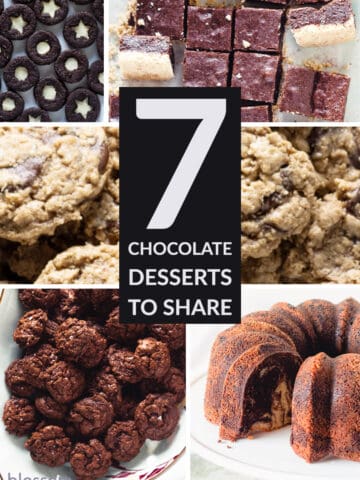
Chocolate fans, this is for you! Here are seven great chocolate desserts to bake and share with your nearest and dearest this holiday season. There’s a range of flavors, from gooey brownies baked on a shortbread crust to a marble chocolate orange olive oil cake big enough to serve a crowd. Happy baking!
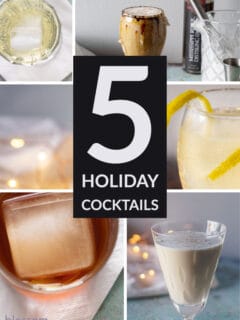
Looking for seasonally appropriate cocktails for your Christmas and New Year’s Eve Celebrations? You’ve come to the right place. Here are five of my favorite holiday cocktails. There’s eggnog, of course, but also things with coffee, with bubbles, and a punch perfect for sharing with a crowd.