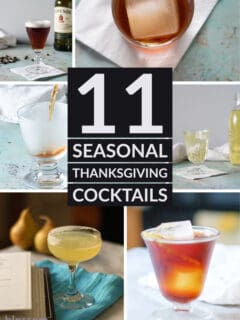
If you’re in need of cocktail inspiration for Thanksgiving weekend, you’ve come to the right place. Here is a collection of some of my favorite cold weather cocktails. If you’d like to batch a cocktail for a crowd here’s a tip: you can convert ounces to cups for 8 servings and add a cup of …
Recipe
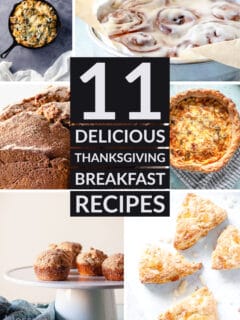
Thanksgiving meal planning tends to focus on just one big meal. But lots of people keep the celebration going for the whole weekend. Or maybe you’d prefer to have your big Thanksgiving meal be brunch. That’s where these Thanksgiving breakfast recipes come in handy. They’re a range of sweet and savory breakfast and brunch recipes …
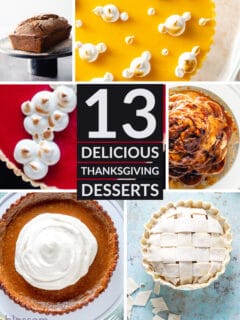
A Thanksgiving feast isn’t complete without something sweet to close out the celebration. Here is a collection of some of my favorite classic and not-so-classic Thanksgiving desserts, from apple pie to pumpkin bread to a show-stopping cranberry curd tart.
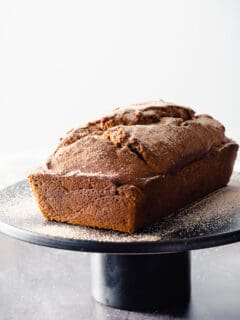
Here she is, a fall treat about as basic as they come: pumpkin bread. I mean, it’s bread in the same way that banana bread is bread, which is to say that it’s pretty much cake that you can get away with eating for breakfast. There are about eleventy-billion versions of pumpkin bread out there. …
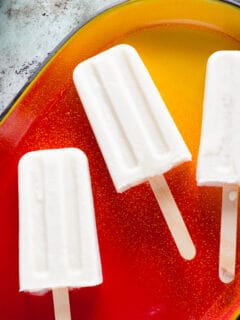
One of the purest summer pleasures is sitting outside on a hot day with a popsicle in hand while you race to consume the icy treat before your fingers are covered in sticky melted drips. These coconut lime popsicles are pretty much everything I want in a popsicle for that fleeting moment of joy. They’re …
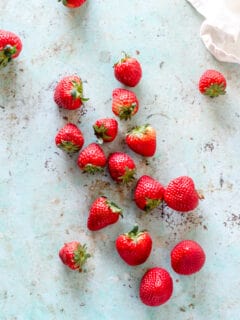
If you’re looking for inspiration for using strawberries, here is a collection of some of my favorite strawberries recipes. If you have the chance to buy fresh, local strawberries, those are usually your best bet for berries with the best flavor. And if you have strawberries in your garden, lucky you! But the strawberries I …