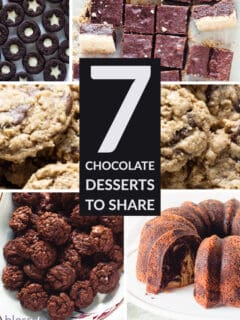
Chocolate fans, this is for you! Here are seven great chocolate desserts to bake and share with your nearest and dearest this holiday season. There’s a range of flavors, from gooey brownies baked on a shortbread crust to a marble chocolate orange olive oil cake big enough to serve a crowd. Happy baking!
Recipe
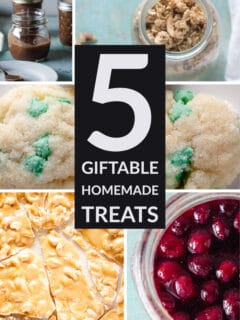
If you’re looking for inspiration for food gifts you can make at home and share with family and friends, here’s a list of some of my favorite treats to make and give to anyone on my list. The cashew brittle is amazing and seriously comes together in about 15 minutes. The granola is a great …
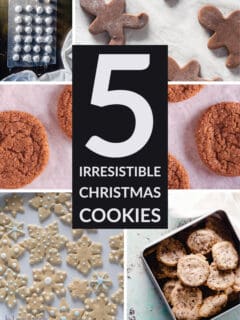
While I have plenty of cookie recipes on this site, these five are some that I come back to again and again. They’re some of the best Christmas cookies ever.
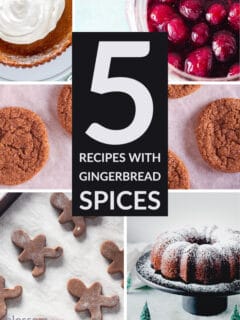
It’s that time of year when flavors with warm gingerbread spices wafting through the kitchen are so inviting. Here are some of my favorite recipes featuring those warm baking spices like ginger, cinnamon, nutmeg, maybe some cloves or cardamom or allspice here or there. There’s a range of ways to enjoy those warming gingerbread flavors. …
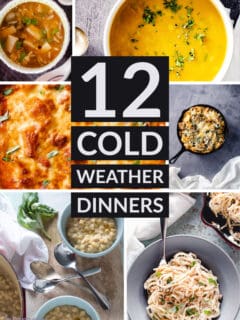
When it’s cold outside, it’s nice to tuck in to a comforting dinner. Here are some weeknight-friendly dinners that will help keep you warm.
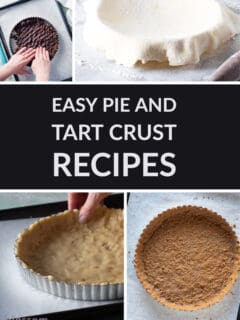
If you have a pie or tart filling in mind but need to find a go-to crust, this collection of pie and tart crust recipes will get you sorted. There’s my favorite easy flaky all-butter pie crust, plus instructions for how to make a lattice top. And then there’s my favorite easy press-in tart crusts …