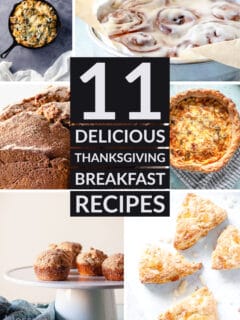
Thanksgiving meal planning tends to focus on just one big meal. But lots of people keep the celebration going for the whole weekend. Or maybe you’d prefer to have your big Thanksgiving meal be brunch. That’s where these Thanksgiving breakfast recipes come in handy. They’re a range of sweet and savory breakfast and brunch recipes …
Breakfast
Breakfast recipes from the simple egg skillets, to muffins (including gluten free versions!), to oven pancakes, to special occasion brunch treat like brioche cinnamon rolls.
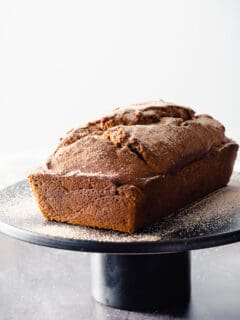
Here she is, a fall treat about as basic as they come: pumpkin bread. I mean, it’s bread in the same way that banana bread is bread, which is to say that it’s pretty much cake that you can get away with eating for breakfast. There are about eleventy-billion versions of pumpkin bread out there. …
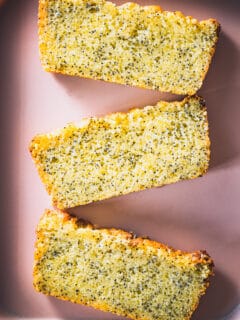
There’s a special place in my heart for loaf cakes. They’re unfussy and unassuming. They don’t demand layers and decoration and all of the foofaraw that can go along with a serious baking project. They don’t demand a special occasion. They’re suitable for dessert, portable for picnics, and a great excuse for sweet snacking. If …
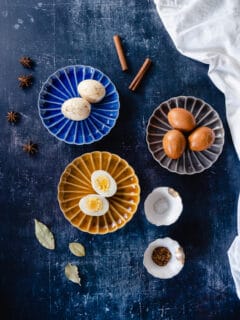
These marbled Chinese tea eggs are lovely to look at and delicious to eat. In China, these tea eggs are typically sold by street vendors and are a popular snack. But regardless of where you live, if you have access to a few spices and soy sauce and tea, they’re incredibly easy to make. The …

This Swiss chard and gruyere strata is the just the thing for a lazy weekend morning. It’s a one-pan, no-fuss kind of meal that has enough greens to nod toward respectability and enough cheese to feel indulgent. It’s somewhere between a quiche and stuffing, but less work than either. Slice up some bread into rough …
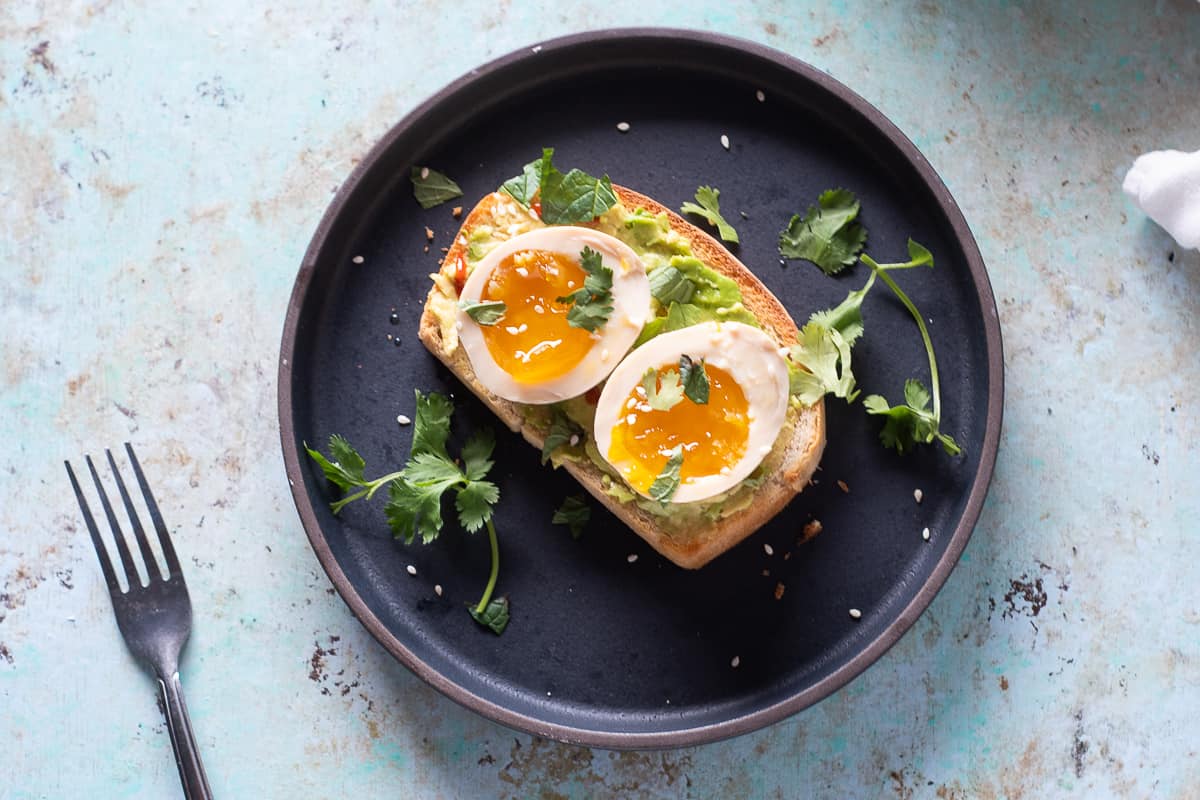
These days, I’m all for simple when it comes to cooking. But I still like food with big flavors, that doesn’t feel like it all came out of a boxed mix. And it’s tough to beat these ramen eggs (ajitsuke tamago) for matching their ease with their great flavor. They’re just boiled eggs that get …