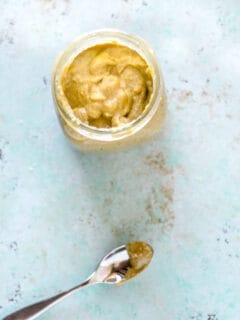
This garlicky cashew sauce is a winner. It only takes a few minutes to make and it’s so freakin’ delicious. I first encountered it with this chicken, but the sauce is good enough to merit its own post. It might help to think of it like peanut sauce. And I love peanut sauce (especially this …
Dips + jams + spreads + sauces
Recipes for condiments, dips, fruit curds, jams, and sauces for things like peanut noodles and pizza.
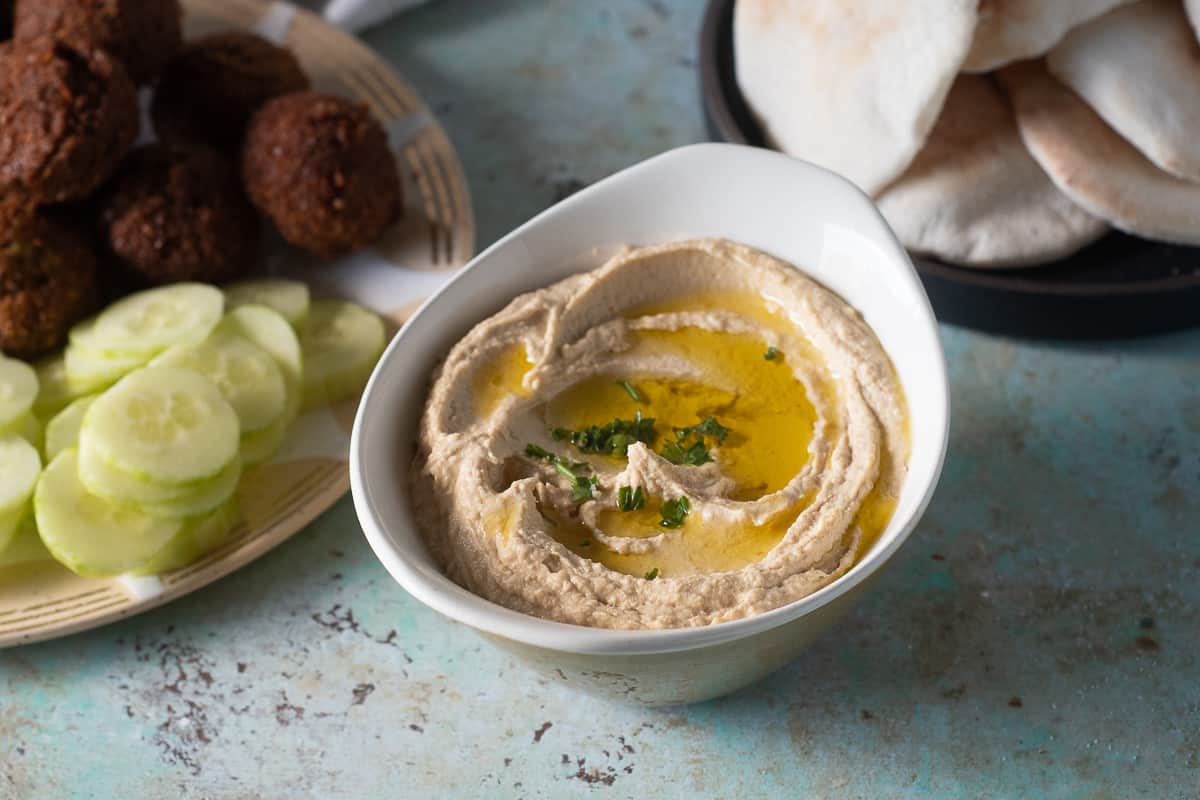
Hummus is such a simple mix of ingredients. When stripped down to the essentials, it’s really just chickpeas, tahini, lemon juice, and garlic. The word “hummus” means “chickpeas” in Arabic. And people have been swiping bread through similar versions of this mixture for centuries. Because when it works, it works. But homemade hummus can be …
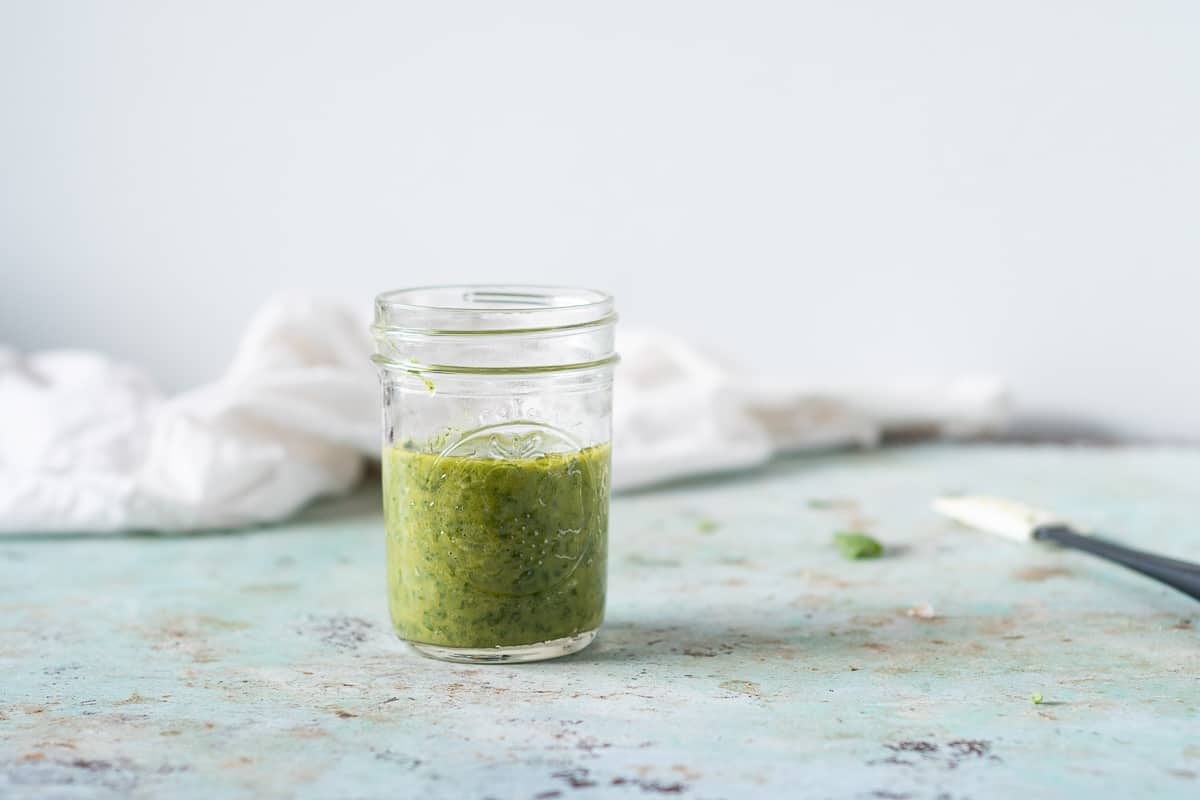
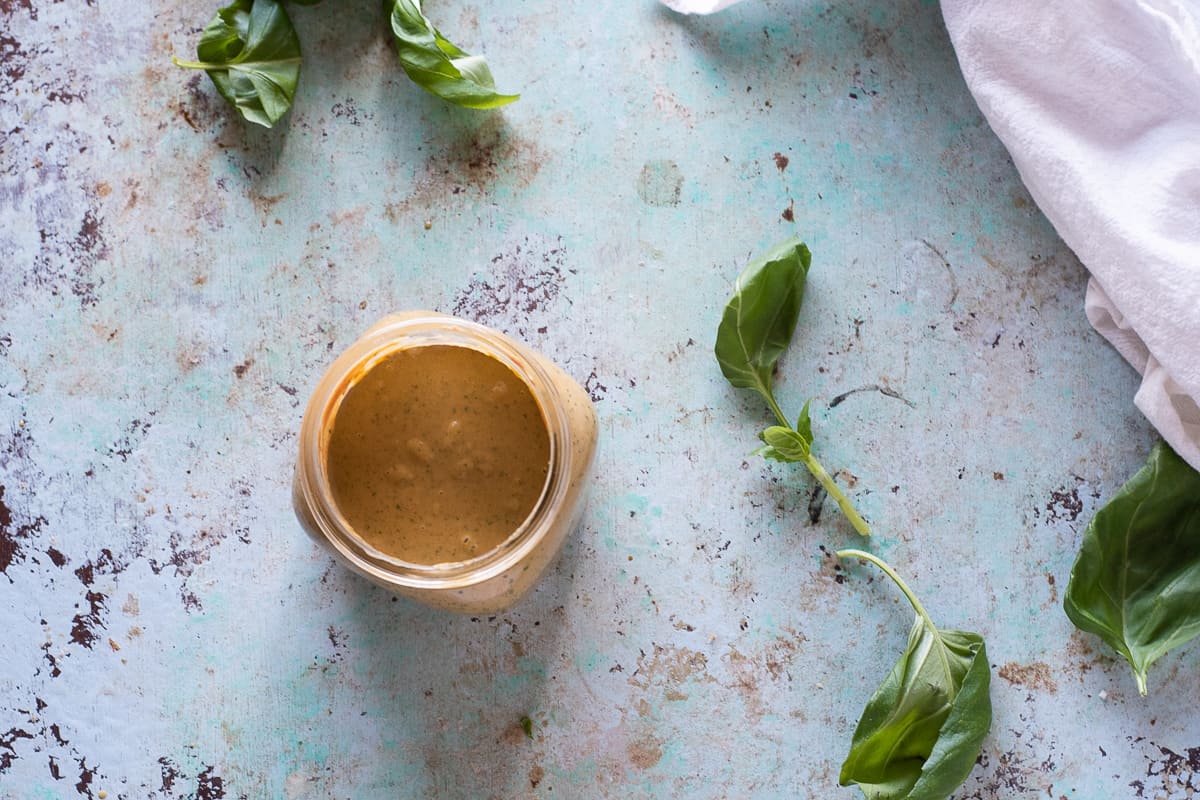
It’s easy to get into a rut with salads. I can find myself tossing the same greens and chopped vegetables and dressing together over and over again. It’s fine. But it’s boring. But it doesn’t have to be that way. One way to break out of a salad rut is with a new vinaigrette. This …
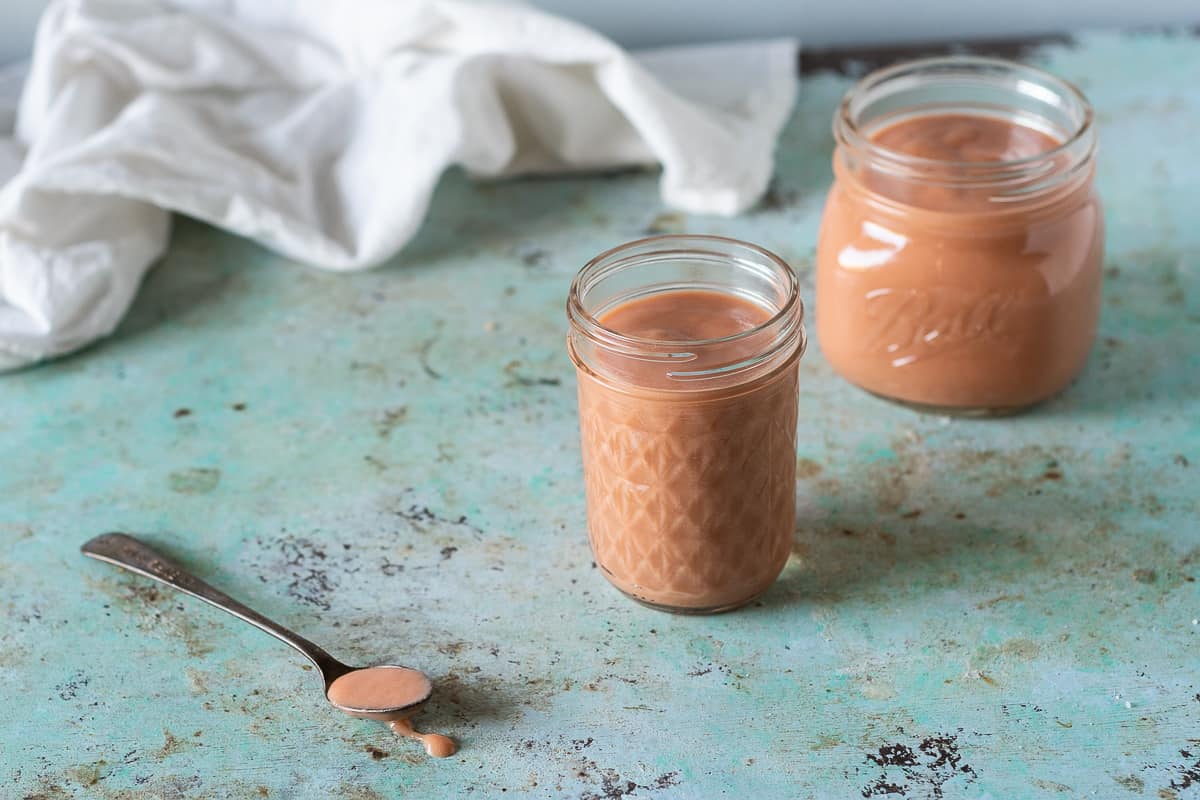
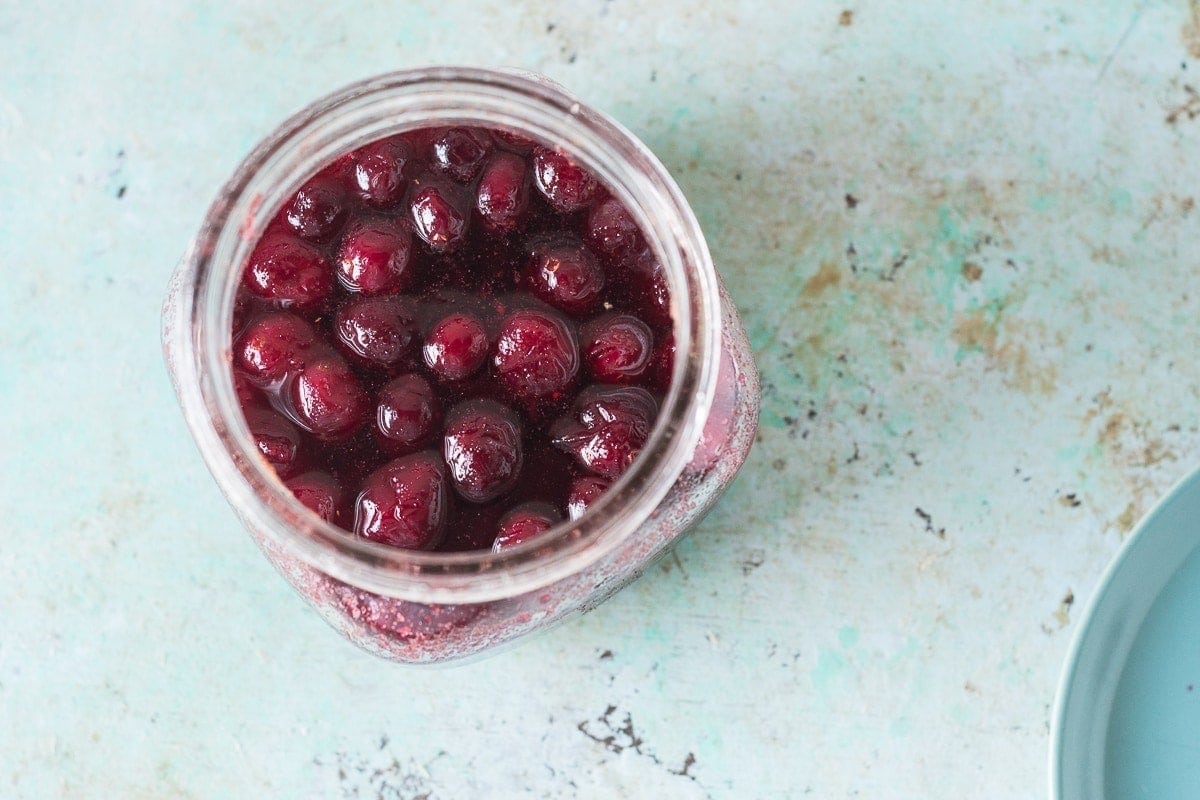
This rhubarb curd is what I turn to when I want a rhubarb dessert without those pesky fibrous bits. This one is perfectly smooth and just lovely. It’s lush and rich and creamy with a little bit of sugar and a generous amount of egg yolks and butter to round out rhubarb’s sharp edges. This …
This peanut sauce is seriously delicious. It’s easy to fall for such sweet-salty-spicy-creamy goodness whether it’s paired with chicken, noodles or serving as a dipping sauce for egg rolls or satay. I’ve made various versions of peanut sauce for years (for a long time this peanut sauce, with a generous dose of sesame oil and …
We’re in the long slog part of winter. The holiday season is far behind us, and spring in Chicago is still months away. This is, for me, the toughest time of year. I get stir crazy. I long for sunlight that stays past five o’clock and for sidewalks that don’t end in ankle-deep gray slush …